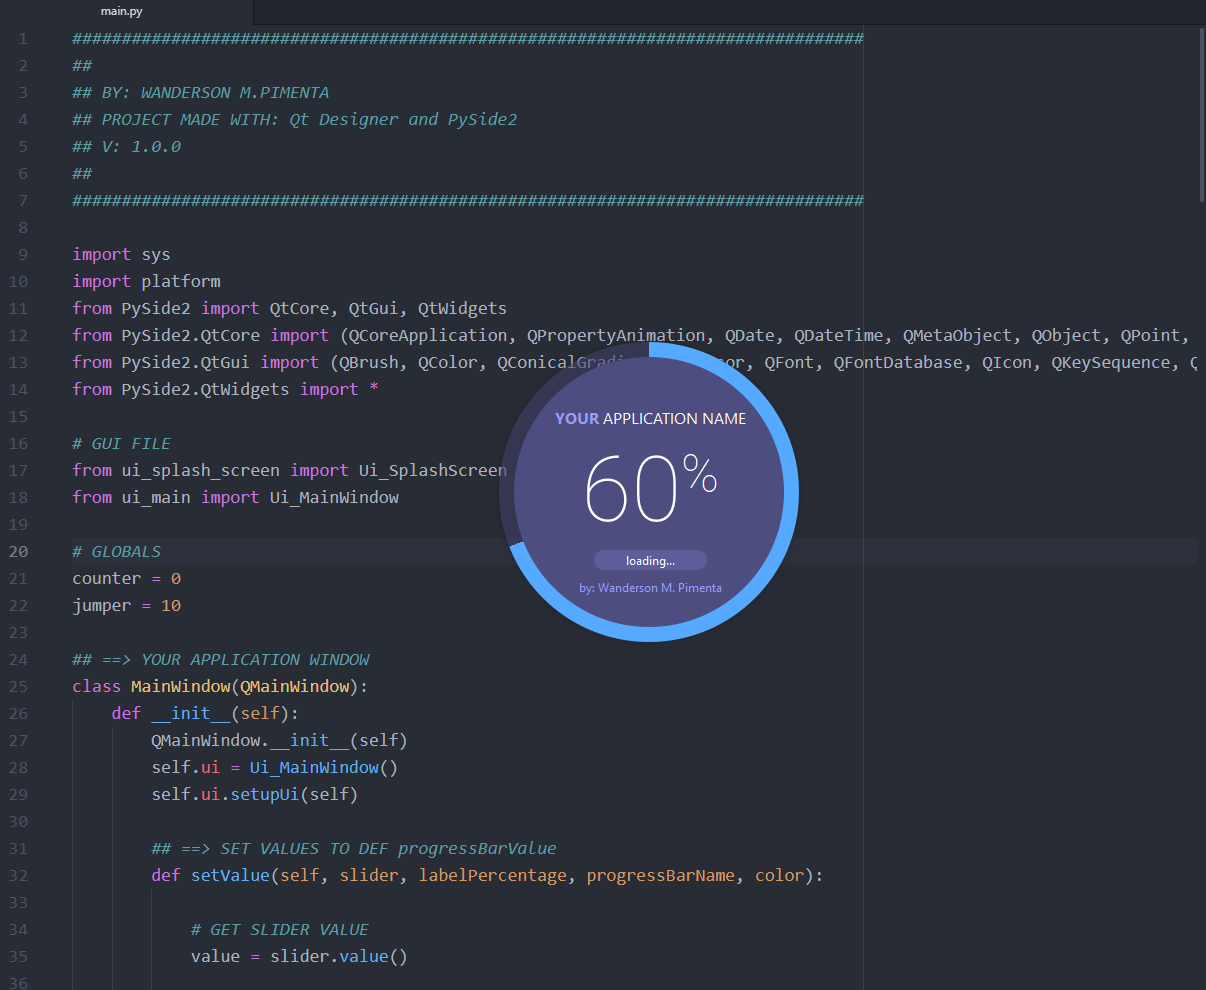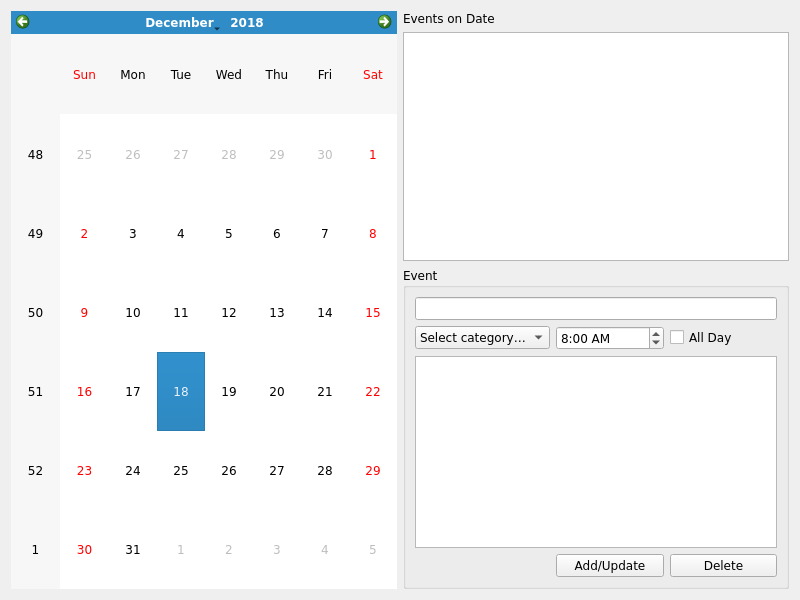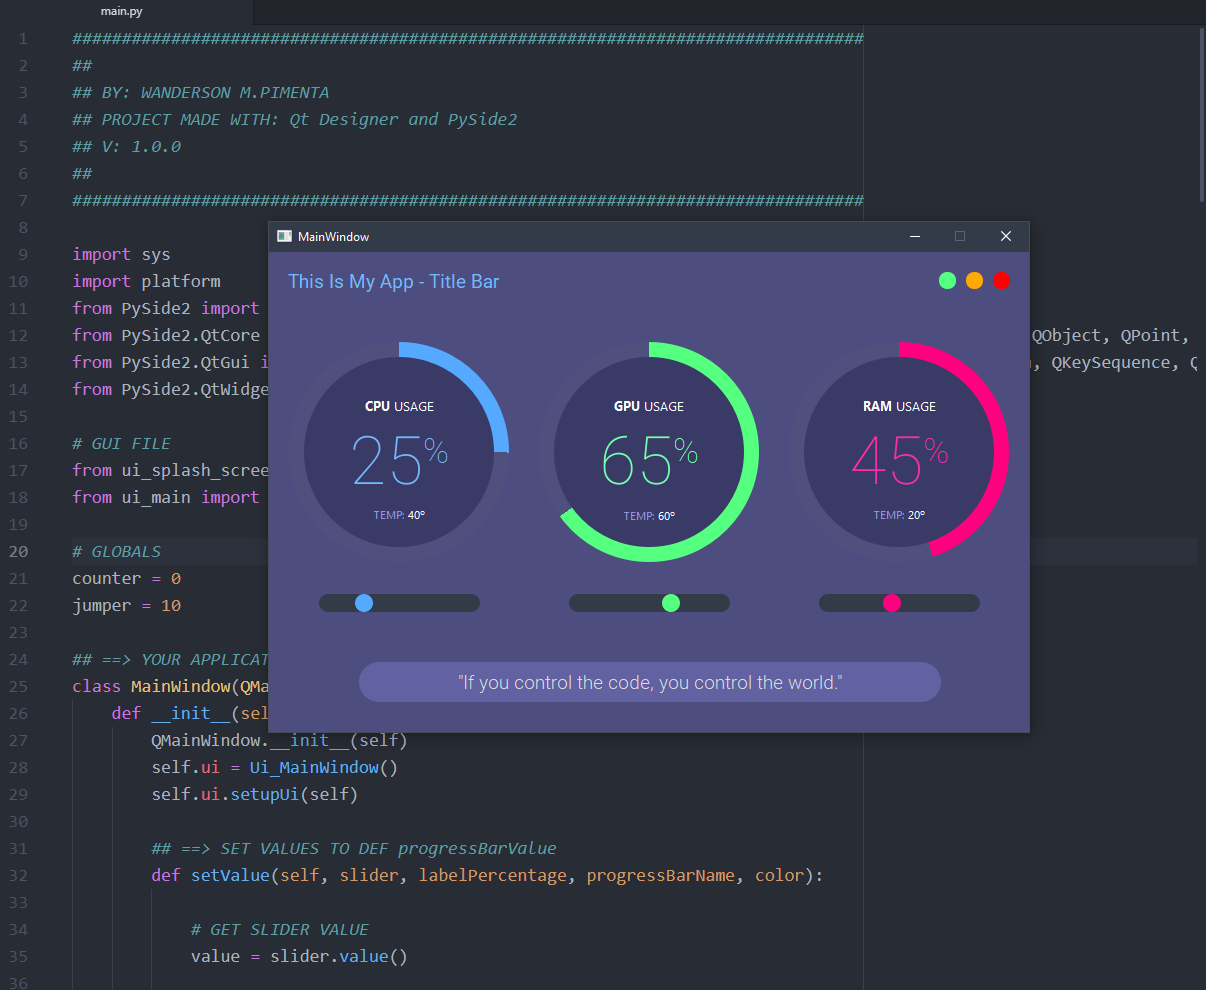
Creating custom GUI widgets is an essential part of developing unique and user-friendly Python applications. With PySide2, a popular Python binding for the Qt framework, you can design and implement custom widgets that enhance the overall user experience. In this article, we will explore the process of creating custom GUI widgets for your Python apps using PySide2.
Introduction to PySide2
PySide2 is a set of Python bindings for the Qt application framework, which is written in C++. Qt is a comprehensive framework that provides a wide range of libraries and tools for building GUI applications, including widgets, graphics, and networking. PySide2 allows you to access the Qt framework from Python, making it an ideal choice for building cross-platform GUI applications.
Why Create Custom GUI Widgets?
Custom GUI widgets can significantly enhance the user experience of your application. By creating custom widgets, you can:
Provide a unique and consistent look and feel for your application
Implement specific functionality that is not available in standard widgets
Improve the usability and accessibility of your application
Enhance the overall visual appeal of your application
Creating Custom GUI Widgets with PySide2
To create a custom GUI widget with PySide2, you need to follow these steps:
1.
Subclass a Qt widget: You can subclass any Qt widget, such as QWidget, QPushButton, or QLabel, to create a custom widget.
2.
Define the widget's properties and behavior: You can define the widget's properties, such as its size, color, and font, and its behavior, such as how it responds to user input.
3.
Implement custom painting and rendering: You can implement custom painting and rendering to create a unique visual appearance for your widget.
4.
Add custom functionality: You can add custom functionality to your widget, such as handling user input or interacting with other widgets.
Example: Creating a Custom Analog Clock Widget
Here is an example of creating a custom analog clock widget using PySide2:
```python
import sys
from PySide2.QtCore import QTimer, Qt
from PySide2.QtGui import QPainter, QPen, QBrush
from PySide2.QtWidgets import QWidget, QApplication
class AnalogClock(QWidget):
def __init__(self):
super(AnalogClock, self).__init__()
self.timer = QTimer(self)
self.timer.timeout.connect(self.update)
self.timer.start(1000)
def paintEvent(self, event):
painter = QPainter(self)
painter.setRenderHint(QPainter.Antialiasing)
# Draw the clock face
painter.setPen(QPen(Qt.black, 2))
painter.setBrush(QBrush(Qt.white))
painter.drawEllipse(10, 10, 200, 200)
# Draw the clock hands
painter.setPen(QPen(Qt.black, 2))
painter.drawLine(110, 110, 150, 150)
if __name__ == "__main__":
app = QApplication(sys.argv)
clock = AnalogClock()
clock.show()
sys.exit(app.exec_())
```
This example creates a custom analog clock widget that displays the current time.
Creating custom GUI widgets with PySide2 is a powerful way to enhance the user experience of your Python applications. By following the steps outlined in this article, you can create unique and functional widgets that meet the specific needs of your application. With PySide2, you can build cross-platform GUI applications that are both visually appealing and highly functional. Whether you're building a desktop application or a mobile app, custom GUI widgets can help you create a user interface that is both intuitive and engaging.


![Python GUI编程:PySide2介绍_[python][gui]pyside2-CSDN博客](https://img-blog.csdnimg.cn/img_convert/8311f994d5e925a315f6a84d253f236a.png)